Settings Not Opening in Windows 10/11
While the problem of Settings not working in Windows 11/10 is usually known to occur after Installing updates, installing new App or program on the computer, it can also occur without any apparent reason. In most cases, the problem can be fixed by using troubleshooting steps as provided below.
1. Shut Down & Restart computer
Before going ahead with other troubleshooting steps, it is recommended that you first Shut Down the computer. After the computer is completely Powered OFF, wait for 60 seconds and Restart the computer. This simple fix can help, if the problem was due to a stuck program or process that was preventing the Settings App from working properly on your computer.
2. Run SFC Scan
If Restarting did not help, follow the steps below to locate and repair corrupted/damaged System Files on your computer.
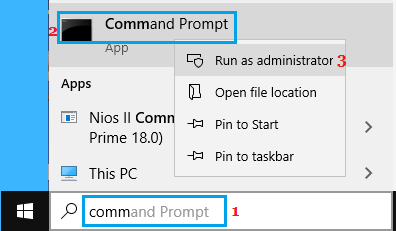
Type CMD in the Search bar > right-click on Command Prompt in the search results and select Run as Administrator option.
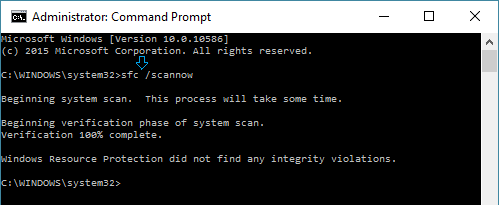
In Command Prompt window, type sfc /scannow and hit the Enter Key to run a full system scan.
It may take anywhere from 10 to 20 minutes for the full system scan to be completed.
3. Reinstall Settings App
Open Command Prompt As Admin > Type the following command and press the Enter key. Get-AppXPackage | Foreach {Add-AppxPackage -DisableDevelopmentMode -Register “$($_.InstallLocation)AppXManifest.xml”} This command will Reinstall all Native Windows Apps on your device, including the Settings App.
3. Create New User Account
If the above methods did not help, you can create a new User Account with Admin privileges and transfer all your files from old to new user Account.
Open Command Prompt As Admin > type net user newusername newpassword /add in Command Prompt window and press the Enter key. Once the above command is successfully executed, you will see a message reading “The Command completed successfully.”
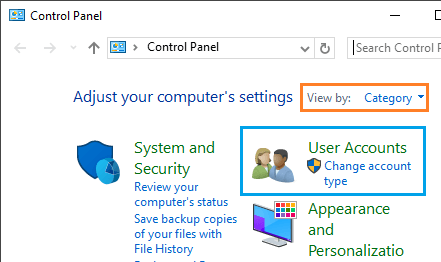
Once this is done, Open Control Panel > click on User Accounts
On the next screen, click on the New User Account that you just created and select the Administrator option. Now, you should find the Settings App is working and you can transfer all your files from Old to the New User Account.
Transfer Files to New User Account.
Transferring files from one User Account to another is not as hard as it appears to be.
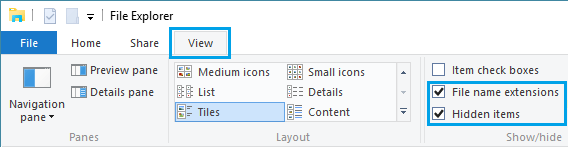
Open File Explorer, click on the View tab and check the box for Hidden items.
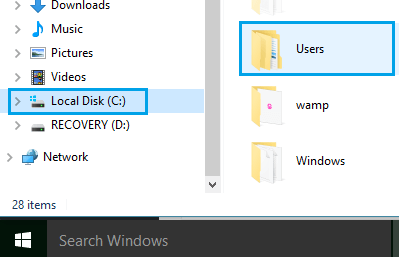
Now, go to your Old User Account located at C:/Users/old Account Name.
Double-click on your Old User Account and you will see a prompt reading “you currently don’t have permission to access the account”. Click on Continue > Enter your User Account Password to enter this account.
Now, copy all the Files that you want to transfer to your New User Account and copy them into the User Folder linked to the New User Account.
How to Create A Local User Account in Windows 10 How to Fix A Corrupt User Profile In Windows 10