Record Gameplay in Windows 10
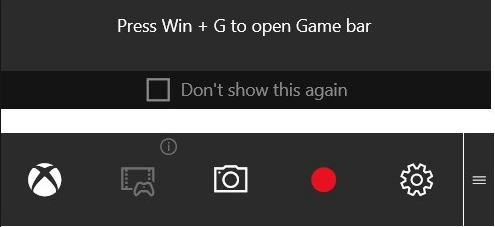
You must have come across YouTube Videos uploaded by Gamers to provide Tutorials, Share accomplishments or just trying to entertain viewers. Prior to Windows 10, all such videos could only be produced using third-party software programs. Now that Microsoft has introduced Gaming Mode in Windows 10, you can record Gameplay and take screenshots while playing Video Games on your PC, without the need to install any third-party software. All that you need to do is to Press Windows Logo + G keys while playing Games on your computer. This will bring up a floating Menu known as the Game Bar on the screen of your computer (See image below).
The next step is to click on the appropriate buttons on the Game Bar to start and stop recording Game Clips.
Enable Game Bar in Windows 10
In order to be able to take screenshots and Record Gameplay in Windows 10, you first need to Enable the Game Bar on your Computer. 1. Click on the Start button and then click on the Settings Icon.
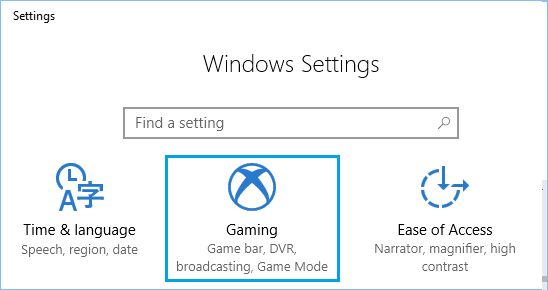
On the Settings screen, click on the Gaming option.
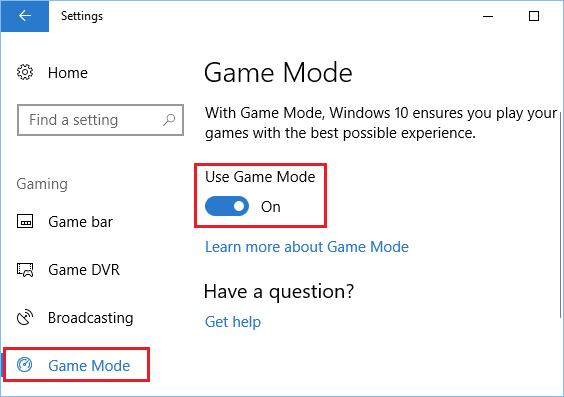
On the next screen, click on Game Mode in the side menu and then make sure that Use Game Mode option is enabled on your computer (See image below)
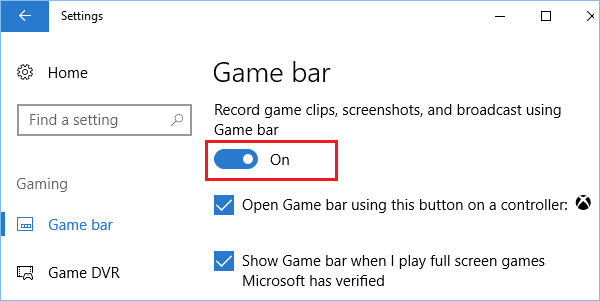
4. Next, click on Game Bar in the side menu and then toggle ON the option to Record Game Clips, Screenshots, and broadcast using Game bar (See image below)
Once Game Bar is enabled on your PC, you are all set to take Screenshots and Record Gameplay clips while playing games on your Windows 10 computer.
Record Gameplay in Windows 10
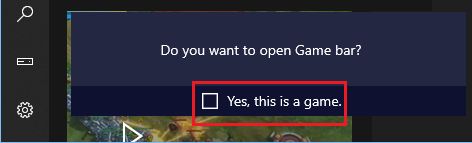
Follow the steps below to Record Gameplay in Windows 10 using the Game Bar that you just enabled on your PC. 1. Press Windows Logo + G keys on the keyboard of your computer to bring up the Game Bar. 2. Check Yes, this is a game option, in case you see “Do You want to open Game bar?” Popup appearing on the screen of your computer (See image below).
Once the Game Bar appears, click on the Red Circle to start recording (See image below).
To stop recording, Press Windows + G keys to bring back the Game Bar and then click on the Red Circle again (See image above).
Once you have finish recording, you will get a notification in the Action Center.
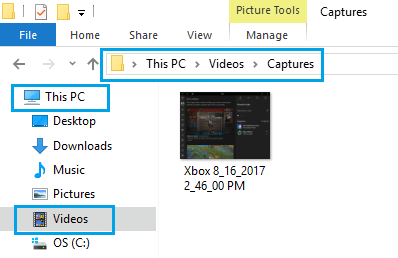
You can see the saved Video clips by navigating to This PC > Videos > Captures Folder on your computer.
Note: You can also press Win+Alt+R keys to start and stop recording during Gameplay in Windows 10. This shortcut works only if you had previously checked “Yes, this is a Game” option (See Step#2 above)
Using Game Bar to Take Screenshots During Gameplay
As mentioned above, the Game Bar also allows you to take screenshots during Gameplay. 1. Press Windows Logo + G keys to bring up the Game Bar. 2. Check Yes, this is a game option, in case you see “Do You want to open Game bar?” Pop-up on the screen of your computer.
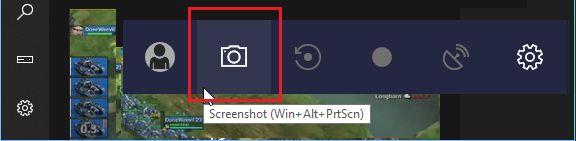
- On the Game Bar, click on the Camera icon or use Windows + Alt + Prnt Scr key combination to take a screenshot (See image below).
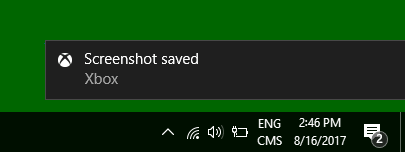
4. Once you take a screenshot, you will see “Screenshot Saved” notification, letting you know that the screenshot has been saved on your computer.
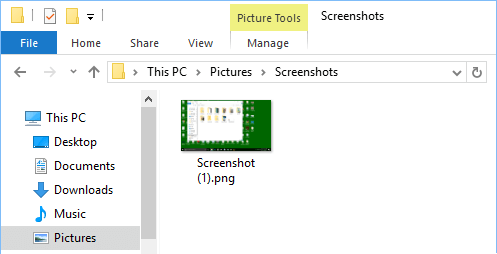
5. You can access the saved screenshot by navigating to This PC > Pictures > Screenshots Folder on your computer (See image below).
How to Take Screenshots Using Snipping Tool in Windows 10
![]()