Password Protect Word Documents on PC or Mac
There are many users who prefer writing journals, diaries and storing all kinds of personal information in Microsoft Word Documents on their PC or Mac, instead of using Journals, diaries and note bools made out of paper. The downside to this habit is that anyone with access to your computer can open any of your Word Documents and start reading through your entire journal, diary or view your personal information. Luckily all versions of Microsoft Office come with a built-in feature which allows you to password protect a Word Document. You will find below the steps to password protect Microsoft Word Documents in Office 2007, 2010, 2013 and 2016 both on a PC and a Mac. Important: Make sure the password that you set is something that you can remember or store it in a secure place.
Password Protect Word Document in Office 2013 and 2016 on PC
Creating a password for Word Documents in Office 2013 and 2016 on PC is a very straightforward and easy procedure.
Open the Word Document that you would like to password protect
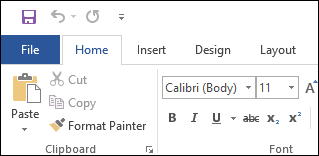
Once the Word Document is open, click on the File option, located in the top left corner of your screen.
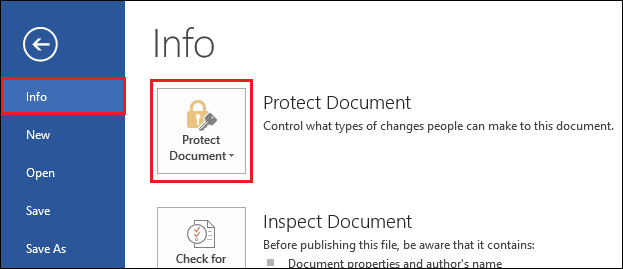
On the next screen, click on Info from the left menu, in case you are not already on the Info screen.
Next click on Protect Document (See image above)
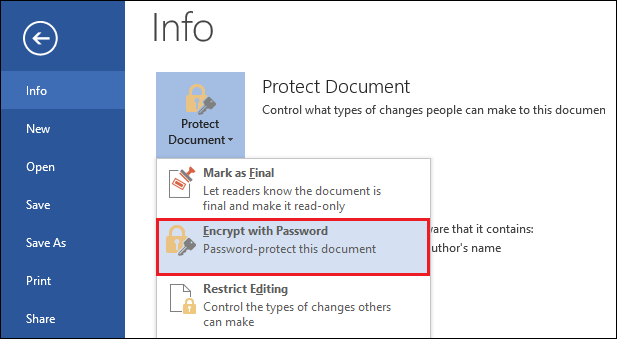
From the ensuing dropdown click on Encrypt with Password option
6. Next, you will see a popup, enter the password for the Word Document and click on OK. On the next pop-up re-enter the password and click on Ok once again.
- Now, close the Word document and from the pop-up click on Save, to save the changes you have just made From now on whenever someone tries to open that Word document, they will have to enter a password to view the Word Document.
Password Protect Word Document in Office 2013 and 2016 on Mac
The procedure to password protect a Word Document in Office 2013 and 2016 on Mac is different than the procedure to do it on a PC.
On your Mac open the Word Document that you would like to password protect
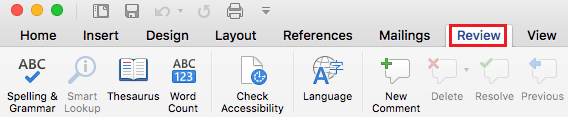
Once the document is open, click on the Review tab at the top (See image below)
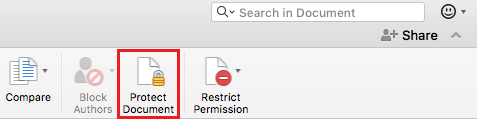
Next click on Protect document (See image below)
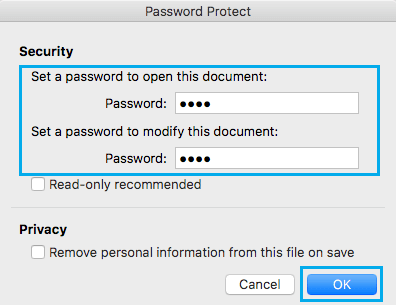
4. On the next screen, you have the option to set a Password to Open the document and a Password to modify the document. You can enter the Password in one or both of the boxes and click on OK.
- Next, you will see a popup, renter your password and click on Ok to save your password. From now on whenever you or anyone else tries to open this Word document, they will be prompted to enter a password.
Password Protect Word Document in Office 2007 and 2010
The process to password protect Word Document in Office 2007 and 2010 is completely different from doing it in Office 2013 and 2016.
Open the Word document that you would like to password protect.
Next, click on the Office icon, located in the top left corner
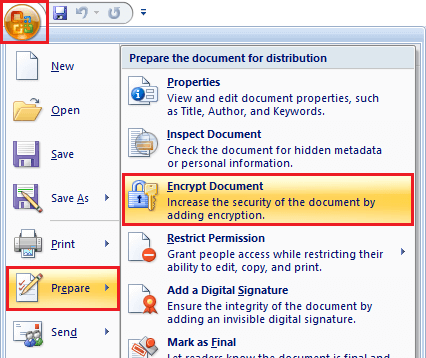
From the dropdown hover your mouse over Prepare option and then click on Encrypt Document (See image above)
From the pop-up enter in a password for your Word document
On the next pop-up renter the password.
Once you have set a password, click on the x icon and then from the popup click on Save in order to save your password.
Remove Password from Word Document in Office 2013 and 2016
If you no longer want to password protect your Word Document than you can remove the password.
Open the Word Document that you want to remove password from and click on File > Info > Protect Document
From the dropdown menu, click on Encrypt with Password
On the pop-up clear the password that is currently there and click on Ok
Now close the Word document and click on Save to remove the password. If you are a Mac user than you can also remove password from Word document in case you no longer need one.
Open the Word Document that you want to remove password from and click on Review tab
Next click on Protect Document.
On the next screen clear out the password in the password box and click on OK to save changes
Remove Password from Word Document in Office 2007 and 2010
If you want to remove password from a Word Document, then follow the steps below.
Open the Word Document you want to remove password from
Click on the Office icon, located in the top left corner of your screen.
Next hover your mouse over Prepare option and click on Encrypt Document (See image above)
From the pop-up, delete the password and click on OK
Now close the Word document and click on Save to remove the password