Password Protect Folders on Mac
In case you are storing Credit Card Numbers, Login Details for websites and other such confidential and sensitive information on your Mac, it is better to store such information in password protected folders. Keeping confidential data on Mac without using any protective measures is like keeping valuable items on your coffee table, where they can be easily seen and stolen by anyone who is driven by ulterior motives. Hence, it is recommended that you get into the habit of storing sensitive information in Password Protected Folders on your Mac, making it difficult for anyone else to access your personal information.
Steps to Password Protect Folders on Mac
Follow the steps below to Password Protect Folders on Mac using the Disk Utility Program as available on your Mac. Disk Utility Protects Folders by creating an encrypted disk image of the Folder which can only be opened by entering a password.
Click on the Finder Icon on the Task-bar of your Mac.
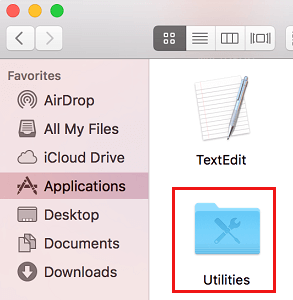
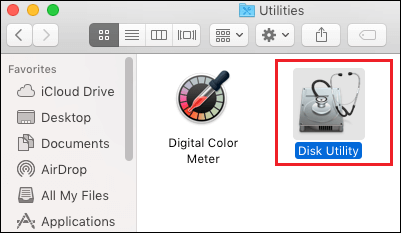
Next, click on Applications in the side-menu and then double-click on the Utilities Folder (See image below)
In the Utilities Folder, double click on Disk Utility program.
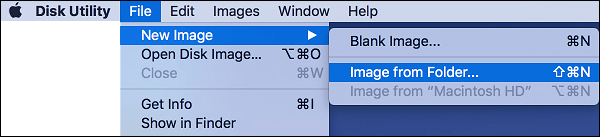
Once Disk Utility opens, click on the File option in the top-menu bar of your Mac. Next, hover your mouse over New Image in the menu that appears and then click on Image from Folder option in the contextual menu (See image below).
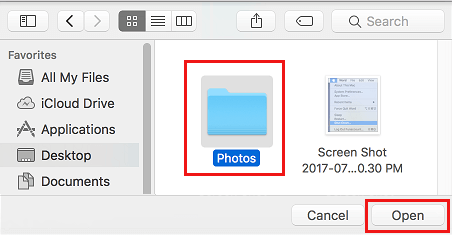
5. In the Disk Utility Window, select the Folder that you want to password protect and then click on the Open button
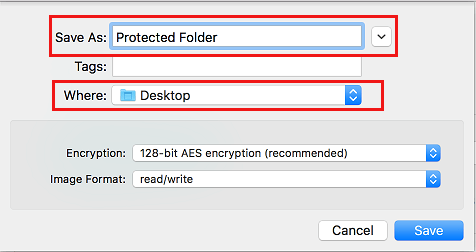
6. In the next window, provide a Name for your protected Folder (in Save As box) and select the Location for the Encrypted Folder (in Where box) – See image below
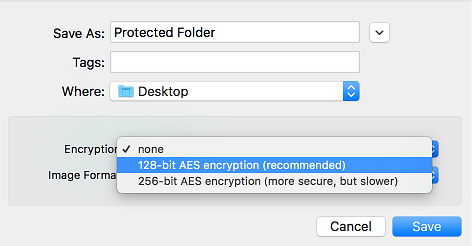
7. On the same screen, select the level of Encryption of the protected Folder (in Encryption box) – See image below.
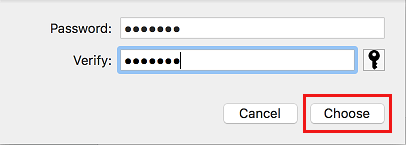
As you can see in image above, you can either go with the recommended 128-bit AES encryption or choose 256-bit AES Encryption option. While 256-bit Encryption provides more security, it is slower and takes up more resources and time (See image below). 8. Once you choose the Level of Encryption, you will see a pop-up prompting you to create a password. Enter a Password for the Encrypted Folder, verify the Password by entering it again and then click on the Choose button (See image below).
Important: Make sure that you write down the password and keep it in a secure place. You won’t be able to access the Protected Folder without entering your Password. 9. Next, choose read/write option in the “Image Format” box and click on the Save button. Choosing read/write option for the Image Format will allow you to both view the Password protected Folder and also make changes to it (See image below).
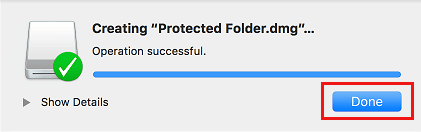
10. Wait for your computer to finish the process of Encrypting the Folder. The time to complete will depend on the amount of data located in the folder to be protected. 11. Click on Done once you see a pop-up informing about completion of the process (See image below)
Before deleting the original unprotected folder, follow the steps below to confirm that you are able to access the password protected folder that you just created on your Mac.
Access Password Protected Folder on Mac
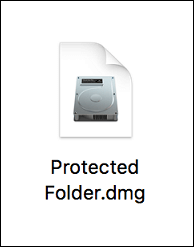
The procedure to access a password protected folder is different compared to accessing a regular folder on your Mac. Hence, it is important that you know the process of accessing password protected folders, before deleting the original unprotected folder. 1. Double-click on the password protected Folder that you had created on your Mac. As you can see in the image below, the protected Folder will be named with a .dmg file extension (foldername.dmg)
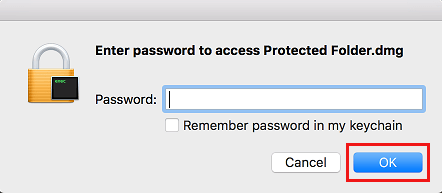
2. On the next pop-up, enter the Password for the Protected Folder and click on the OK button.
Note: Make sure that Remember password in my Keychain option is always unchecked. 3. After entering the password, the Protected Folder will become unlocked. However, you won’t be able to access the Unlocked Folder like a regular Folder on your Mac. 4. To access the Unlocked Folder, click on the Finder icon on your Mac.
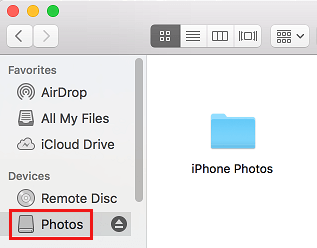
In the Finder window, you will see the Unlocked Folder located in the Devices Section and you will be able to access it by clicking on it (Just like accessing a USB device) – See image below.
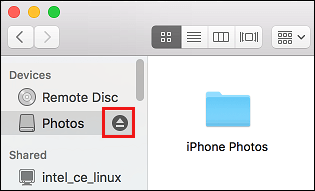
Once you have finished using the Folder, click on the eject icon located beside the Name of the Folder and the Folder will once again become Locked and Protected. (See image below)
Now that you have confirmed that you are able to access the Encrypted Folder, you can go ahead and delete the original Unprotected Folder.
How to Password Protect Word Documents on PC and Mac How to Show All Running Apps and Processes on Mac
![]()

![]()