USB Debugging Mode in Android Devices
The main function of USB Debugging Mode is to establish a direct connection between an Android Device and a Computer with Android SDK (Software Development Kit) installed on it. App developers code their apps on a computer using the Android SDK and make use of the USB Debugging mode to transfer their apps to an Android device for testing. While USB Debugging Mode is primarily meant for Developers, it is also a key step for non-developmental activities like Rooting an Android Device, Installing Custom ROM’s or to Run Terminal Commands from a computer to restore a bricked Android Device.
Enable USB Debugging Mode on Android Phone
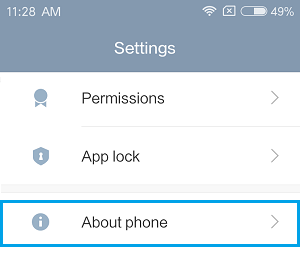
As mentioned above, USB debugging Mode is not readily available on your Android Phone or Tablet. It needs to specifically enabled by first Enabling Developer Options on your Android Device and then accessing USB Debugging, which will be available as one of the many tools under Developer options. Follow the steps below to first Enable Developer Options on your Android Device and then access and Enable USB Debugging Mode on your Android Phone or Tablet. 1. From the Home Screen of your Android Phone or Tablet, tap on Settings. 2. On the Settings screen, scroll down to the bottom and tap on About Phone (or About Device) option (See image below).
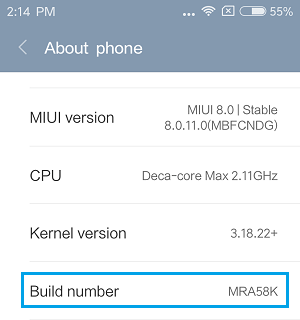
Note: The equivalent tab for “About Device” on HTC and LG phones is “Software Information” 3. On the About Phone (or About Device) screen, scroll down to Build Number option.
- Now, start tapping on Build Number, until you see a pop-up, informing “You are X steps away from being a Developer”.
Note: In case of Xiaomi Phones you will be tapping on “MIUI Version”, instead of Build Number. 5. Keep tapping on Build Number until you see “You Are Now a Developer” pop-up. On most Android Phones you will be tapping about 7 times to become a Developer. 6. After becoming a Developer, go back to the Settings screen by tapping on the Back button (See image below)
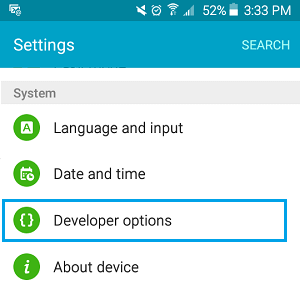
7. Back on the Settings screen, scroll down and tap on Developer Options.
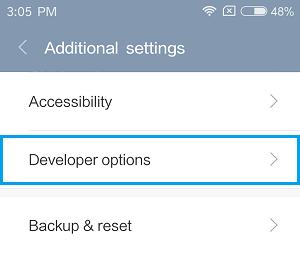
Note: On some Android Phones you need to tap on Settings > Additional Settings to access Developer Options (See image below).
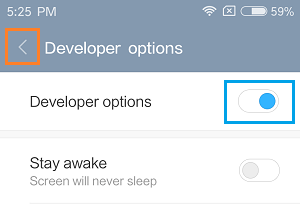
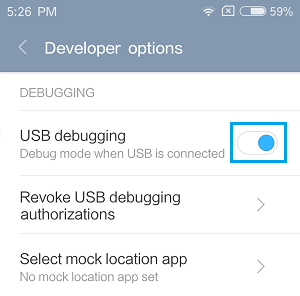
- On the Developer Options screen, scroll down to “Debugging” Section and enable USB Debugging on your Android Phone by moving the slider next to USB Debugging to ON Position (See image below).
Disable USB Debugging Mode
USB Debugging Mode provides a high level of access to your Android device and keeping this option always enabled on your Android Phone or Tablet is a security risk. For example, the data on your Phone can be accessed or malware can be installed on it via the USB Port, while you are trying to charge your Phone by connecting it to a USB charging port at a public location. Hence, make sure that you Disable USB Debugging Option on your Android Phone or Tablet as soon as you are done using it.
- Tap on Settings
- Next, Scroll down and tap on Developer Options.
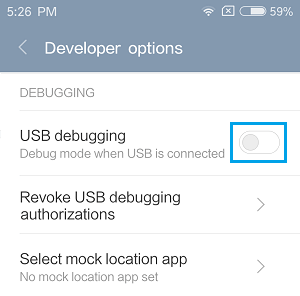
Note: On some Android Phones you need to tap on Settings > Additional Settings to access Developer Options. 3. On the Developer Options screen, disable USB Debugging Mode by moving the slider to OFF Position.
In case required, you can remove the USB Debugging option totally from your device by Removing the Developer Options from the Settings Menu on your Android Phone.