Clear Cache in Windows 11
The “Cache” can be defined as a temporary storage location, designed to store recently accessed disk data, so that it can be readily accessed and resued by Apps, Programs and processes running on the computer. While files stored in the cache do help in improving the overall speed and performance of the computer, the Cache eventually becomes filled with outdated data, leading to slowing down of the device. Also, the cached files can often get damaged or corrupted, leading to improper functioning of the Apps and causing various other problems on the computer. Hence, periodically clearing the cache should help in improving the overall performance of your device.
1. Clear Temporary Files Cache Using Disk Cleanup
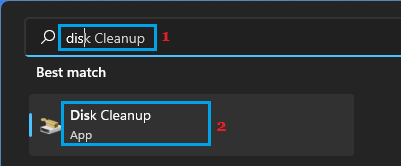
The easiest way to Clear Temporary Cached Files in Windows 11 is to use the built-in Disk Cleanup tool as available on your computer. Click on the Start button > type Disk Cleanup in the Search bar and click on Disk Cleanup App in search results.
On the Disk Cleanup screen, check all the boxes and click on OK.
On the confirmation pop-up, select Delete Files option to confirm and wait for the Disk Cleanup utility to clean up the selected type of files from the computer.
2. Clear Cache Using Storage Sense
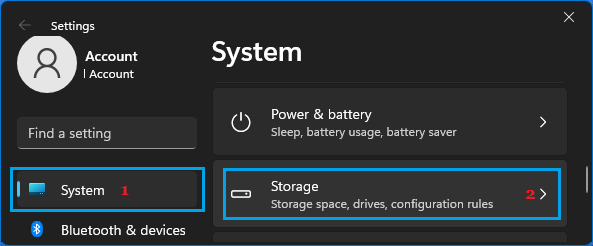
You can also manually Run the Storage Sense utility on your computer to clean Temporary Files that are not being used by Apps on the computer. Click on Start > Settings > select System in the left-pane. In the right-pane, scroll down and click on Storage.
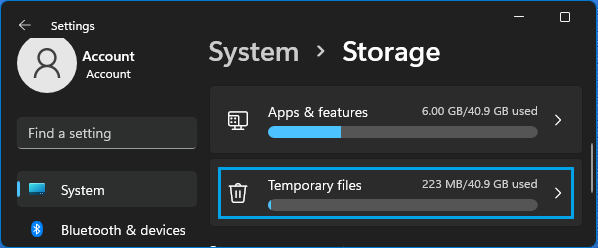
On the next screen, click on Temporary Files tab.
On the next screen, make sure all the File Types are checked and click on Remove Files option.
3. Clear DNS Cache done
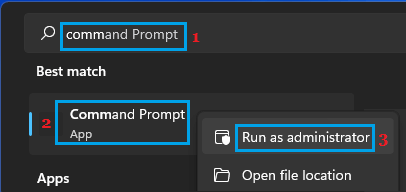
Click on the Start button> type CMD in the Search bar > right-click on Command Prompt and select Run as Administrator option.
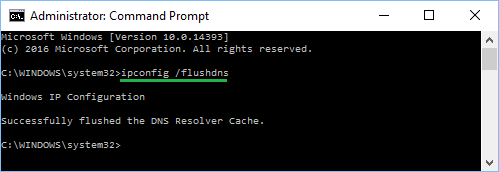
In Command Prompt window, type ipconfig /flushdns and press the Enter key.
Once the Command is processed, you will see ‘Successfully flushed the DNS Resolver Cache’ message.
4. Clear Windows Store Cache
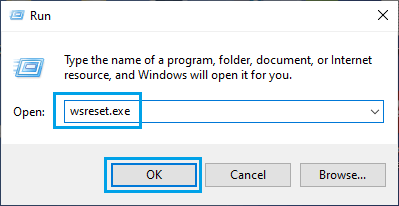
Right-click on the Start button and click on RUN. In the Run Command window, type wsreset.exe and click on OK.
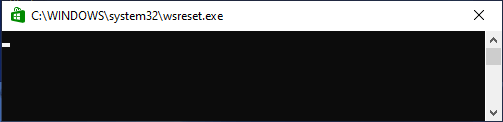
You will see a blank window appearing on the screen of your computer.
Patiently, wait for Windows Store Cache to be cleared, after which the black screen will close and you will see Windows Store launching on your computer.
5. Clear Location Cache
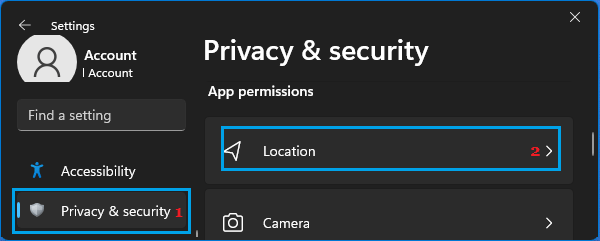
Click on the Start button > Settings Icon > select Privacy & Security in the left-pane. In the right-pane, scroll down to “App Permissions” section and click on Location.
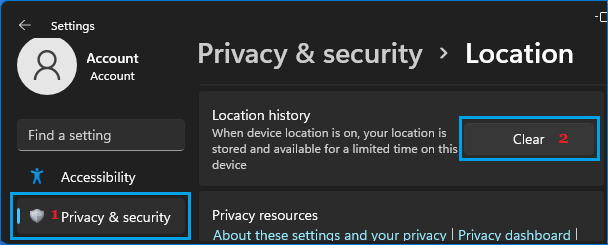
On the next screen, scroll down and click on the Clear button, located next to Location History.
7. Clear Windows Icon Cache
Open File Explorer > navigate to C:\Users\Username\AppData\Local\Microsoft\Windows\Explorer.
In the Explorer Folder, select all the Files that start with iconcache and delete them.
8. Clear System Restore Cache
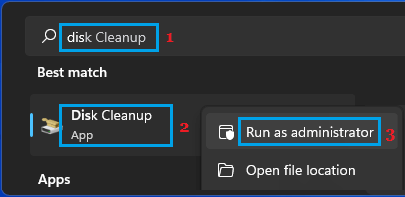
If you have enabled the option to automatically create System Restore Points, your computer is likely to be filled up with multiple System Restore Points, unnecessarily taking up storage space on the computer. Type Disk Cleanup in the Search bar > right-click on Disk Cleanup App and click on Run as Administrator.
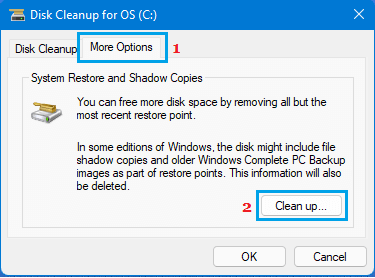
On the next screen, select the More options tab and click Clean up button under “System Restore & Shadow copies” section.
On the conformation pop-up, click on the Delete button to confirm. Windows will now delete all the System Restore points on your computer and keep only the most recent System Restore point on your computer.
How to Start Windows 11 in Safe Mode How to Create Windows 11 USB Recovery Drive


![]()