Change Apple ID On iPhone or iPad
There is common concern among Apple device users about the possibility of losing Data, Photos, Music, Books and Subscriptions, if they tried to change Apple ID. However, changing Apple ID is allowed by Apple and it basically results in all your Data, Music, Books, Subscriptions and other related items being transferred from Old to New Apple ID. In order to change Apple ID, you need an Email Address that has never been used as Apple ID or used to create an iCloud or iTunes Account.
1. Change Apple ID On iPhone or iPad
Follow the steps below to Change your Apple ID on iPhone or iPad.
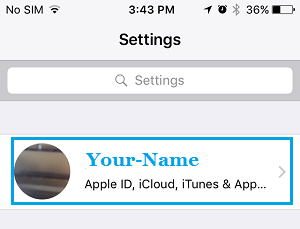
Open Settings and tap on your Apple ID.
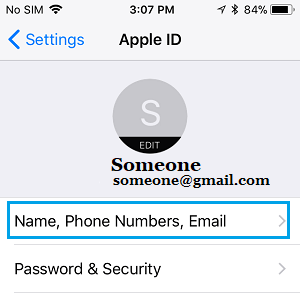
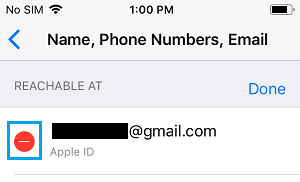
On Apple ID screen, tap on Name, Phone Numbers, Email option.
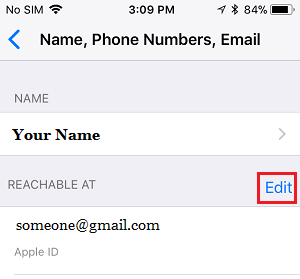
On the next screen, tap on the Edit option located next to “Contactable” or “REACHABLE AT”.
4. Tap on the little – button located next to your Apple ID.
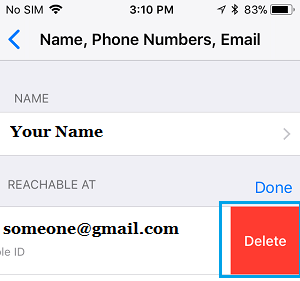
5. Next, tap on the Delete button that now appears.
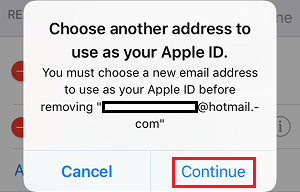
You will see “Choose another address” pop-up, tap on Continue.
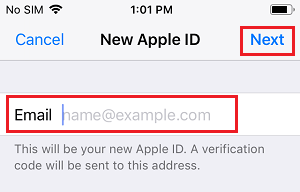
At this point, you may be prompted to enter your current Apple ID Password or verify identity by answering two Security Questions. 8. On the next screen, enter your New Email Address and tap on Next.
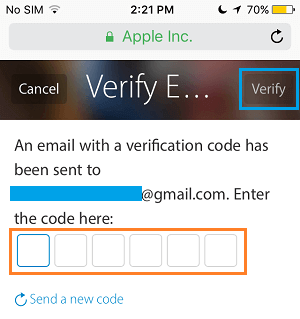
Apple will now send a Verification Code to your New Email Address. Get the verification code by going to your Email and enter the Verification Code on the next screen. Once your Email is verified, your Apple ID will be changed.
2. Change Apple ID on iPhone, iPad Using Safari
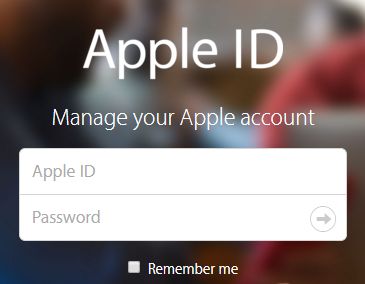
You can also change Apple ID by going to Apple’s “Manage your Apple ID” Page on iPhone, iPad, Mac or Windows PC.
- Open the Safari browser on your iPhone and go to https://appleid.apple.com
- Login to your Apple Account by using your existing Apple ID and Password.
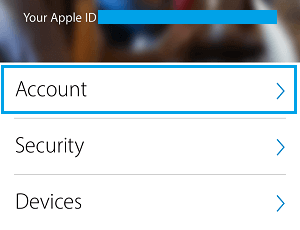
3. Once you are logged-in, tap on the Account tab.
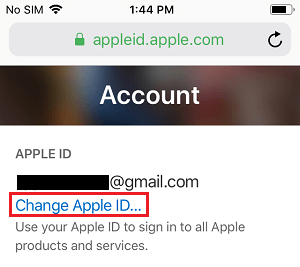
4. On the next screen, tap on Change Apple ID… link located right below your current Apple ID.
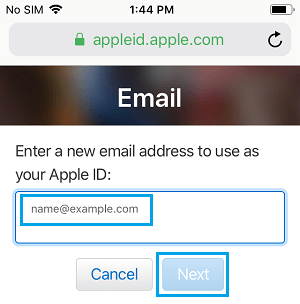
5. On the next screen, enter the New Email Address that you would like to use as your Apple ID and tap on the Next button.
6. Once you tap on Next, Apple will send a six digit Verification code to above Email Address. 7. Get the verification code from your Email Account > Enter the Verification Code in the pop-up window and tap on Verify.
Once your Email is verified, your Apple ID will be changed and you will be able to use the New Apple ID from now onwards.
Things to Do After Changing Apple ID
After changing Apple ID, it really important that you update your New Sign-in information with App Store, iTunes, Books, Messages and Find My iPhone. All that is required to change your Sign-in information with any Apple Service is to simply Sign-in to the Service using your New Apple ID and Passcode. If you are already signed-in to an Apple Service with your Old Apple ID, you need to first logout from the service and Sign-in again, using your New Apple ID and New Passcode.
How to Create Apple ID Without Credit Card How to Remove Apple ID From iPhone and iPad