Change iPhone Backup Location on Mac
Starting with macOS Catalina, it is the Finder App that makes the Backup of iPhone on Mac and not iTunes. Similar to iTunes, the Finder also stores the iPhone Backup to a hidden location in your user profile, without offering any way to change its location. Currently, the only way to change Location of iPhone Backup Folder on Mac is to create a Symbolic link from the default iPhone Backup Folder on Mac to your desired New Backup Location. Once the Symlink is created, it tricks the Finder into making a backup of your iPhone to the New Location (Desktop, External Storage or other location).
Where is the Location of iPhone Backup on Mac?
If you are using a MacBook, iMac or Mac Mini, iPhone Backup Files are located at path ~/Library/Application Support/MobileSync/Backup/. Note: You may need to enable the option to Show Hidden Files on your Mac to see the location of iPhone Backup Files.
How to Switch iPhone Backup Location on Mac?
The process to change the location of iPhone Backup Folder on Mac is a bit lengthy. Hence, we have divided this process into 3 steps. Step#1: Copy Current iPhone Backup to New Location The first step is to copy the current iPhone Backup Folder to New Location.
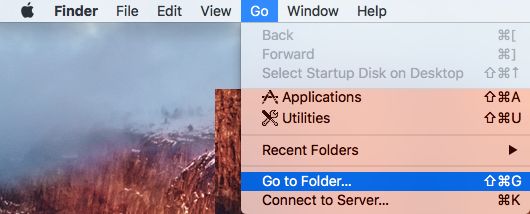
Click on the Finder Icon > select the Go tab in top-menu bar and click on Go to Folder.
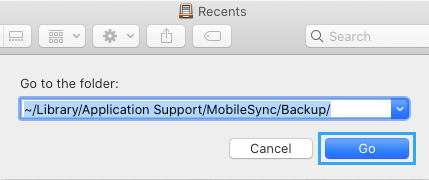
In Go to window, type ~/Library/Application Support/MobileSync/Backup/ and click on the Go button.
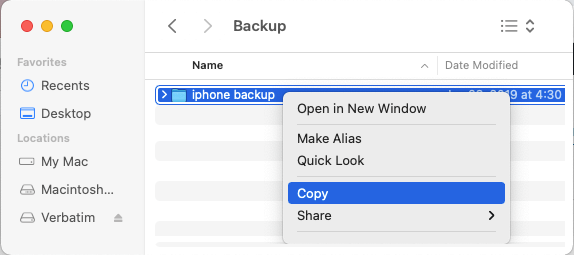
Right-click on the Backup Folder and select Copy Backup option.
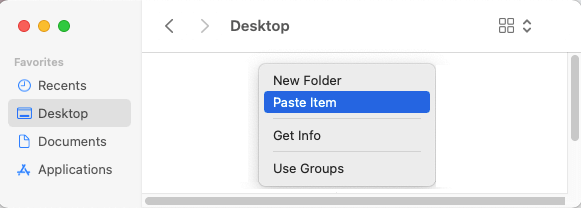
Open New Finder window (Command + N) > navigate to the New Location where you want to save iPhone Backups > Right-click in any empty space and select Paste Item option.
Note: You can select External Storage Drive or any other location on your Mac as the New Location for iPhone Backups. 5. Wait for iPhone Backup Files to be copied to the New Location. This process can take a while, depending on the amount of data to be transferred. 6. Once the Files are copied, go back to the previous iPhone Backup Location and Rename the Backup Folder as Old iPhone Backup. Step#2. Grant Full Disk Access to Terminal The next step is to grant full disk access to the Terminal App on your Mac.
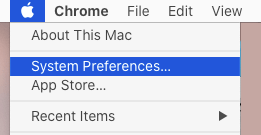
Click on Apple Logo in top-menu bar and select System Preferences in the drop-down menu.
On System Preferences screen, click on the Security & Privacy Icon.
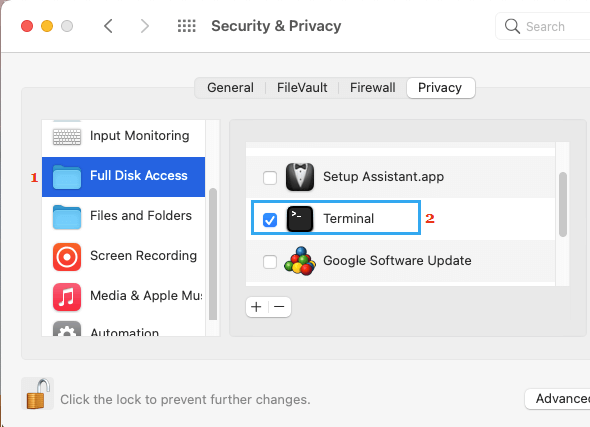
On the next screen, select Full Disk Access in the left-pane. In the right-pane, scroll up or down as required and provide full disk access to the Terminal App.
Note: If the selection is locked, click on the Security Lock > Enter your User Name and Admin Password to allow changes. If Terminal is not available, click on the + icon > go to Utilities > Terminal and click on Open. Step#3. Create Symlink to iPhone Backup Location Once the Terminal has Full Disk Access, you can follow the steps below to create a Symbolic Link to iPhone Backup Folder.
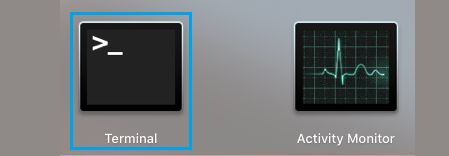
Open the Terminal on your Mac using Launchpad or by going to Finder > Go > Utilities > Terminal.
In the Terminal window, type sudo ln -s /Volumes/Desktop/iPhone Backup/~/Library/Application\ Support/MobileSync/Backup and press the Enter key.
This will create a Symlink connecting the default iPhone Backup Folder to New Backup Folder, which will force the Finder to Backup iPhone to your desired location.
How to Copy Text from iPhone to Mac How to Delete iPhone Backups From Mac