Backspace Key Not Working: Works Only Once Windows 10/11
In general, you should be able to quickly delete a single letter, an entire word, multiple words or an entire sentence at any time on your computer. However, if the Backspace Key is working only once and stopping, you will only be able to delete one letter at a time, which can be quite frustrating. In most cases, this problem with the Backspace key is most likely due to Filter Keys being enabled and should disappear once the Filter Keys function is disabled on your computer.
1. Steps to Fix Backspace Key Deleting One Letter At a Time
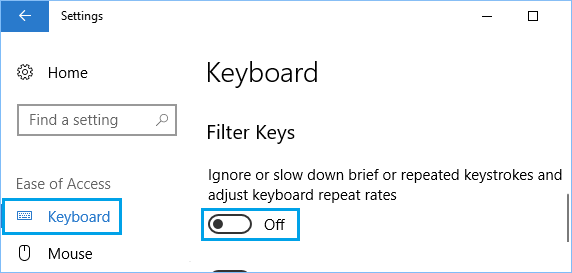
As mentioned above, the easiest way to fix the problem of Backspace Key deleting one letter at a time is to disable the Filter Keys feature on your computer. Windows 10: Go to Settings > Ease of Access > select Keyboard in the left-pane. In the right-pane, turn-off Filter Keys option.
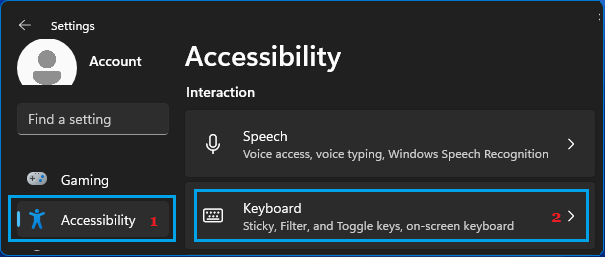
Restart your computer and see if the Keyboard is now working. Windows 11: Go to Settings > click on Accessibility in the left pane. In the right pane, scroll down and click on Keyboard under “Interaction” section.
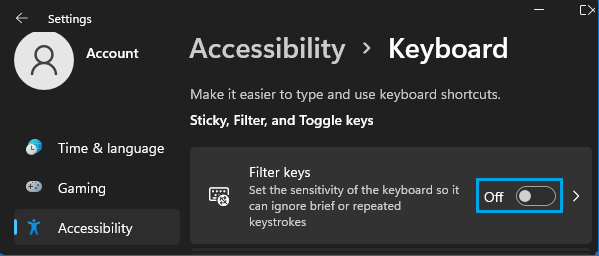
On the next screen, scroll down in the right-pane and move the toggle next to Filter keys to OFF position.
After this you should be able to use the backspace key on your keyboard and it should be working normally now.
2. Run Keyboard Troubleshooter
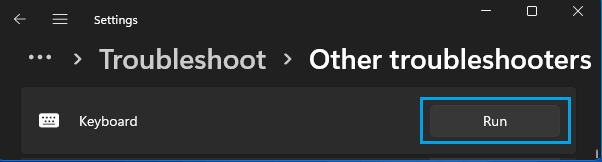
If the problem is not yet fixed, you can trust the built-in Windows Troubleshooter to find and fix problems with the Backspace key on your computer. Windows 11: Go to Settings > System (left-pane) > Troubleshoot (right-pane) > Other Troubleshooters (right-pane) > scroll down in the right-pane and click on the Run button located next to Keyboard.
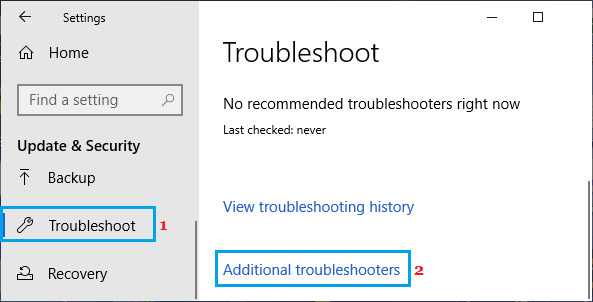
Windows 10: Go to Settings > Updates and Security > click on Troubleshoot in the left pane. In the right-pane, scroll down and click on Additional Troubleshooters.
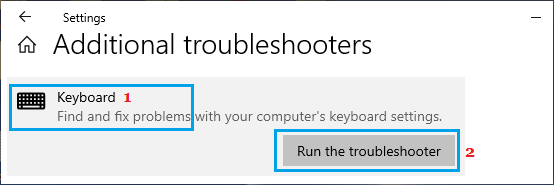
On the next screen, click on Keyboard and then click on Run the Troubleshooter.
Wait for the Troubleshooter to find and fix Keyboard related problems on your computer.
3. Update Keyboard Drivers
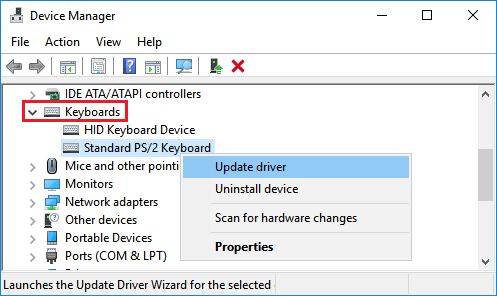
Right-click on the Start button and click on Device Manager. On Device Manager screen, expand Keyboards entry > right-click on the Keyboard and select Update driver option in the contextual menu.
On the next screen, click on Search Automatically for updated driver software option. Restart your computer and see if the keyboard is now typing numbers.
How to Enable On-Screen Keyboard in Windows 10 How to Create Keyboard Shortcuts in Windows 10